
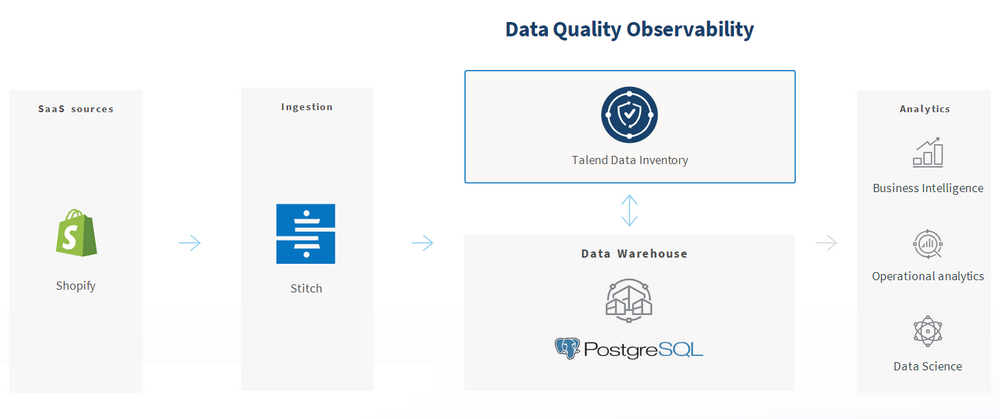
Thank you for joining this workshop! Today you will start by learning how to easily create a data pipeline from Shopify to a data warehouse using Stitch (in a matter of minutes). Then, you will discover how to automatically monitor data quality across your data warehouse with Talend.
What you need to have
- A laptop with an internet connection
What you need to achieve in just 45 min
- Sign-up to a Stitch free trial
- Add a Shopify integration
- Add a Postgres destination
- Get access to Talend Data Inventory
- Get a holistic view of the data warehouse data quality
What you need to know
- You don't need to be an expert for this workshop, quite the contrary. Basic knowledge on data integration and quality is recommended.
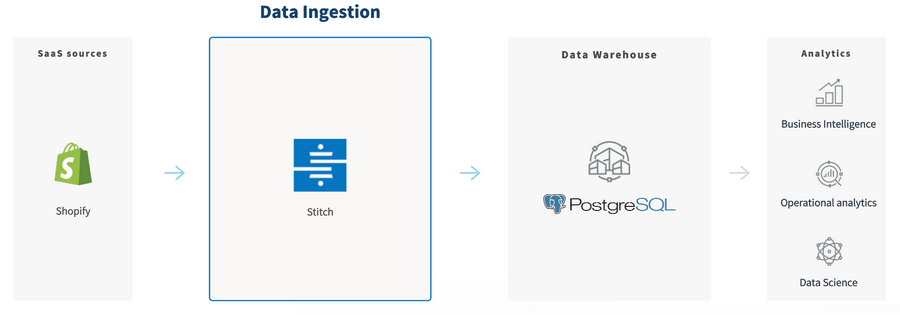
Overview
This first step is meant to show the easy and quick Stitch onboarding process. You will learn how to create an integration in a few minutes by setting up a source (Shopify) and a destination (Postgres).
First, sign up to a Stitch free trial, click below:
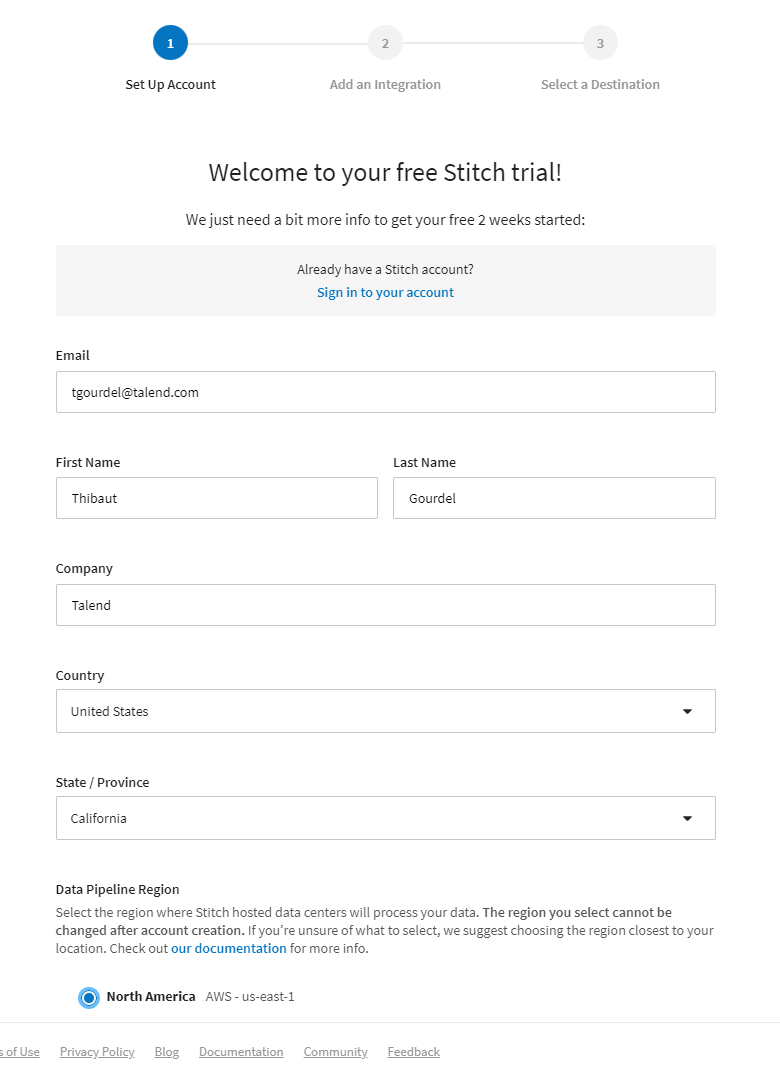
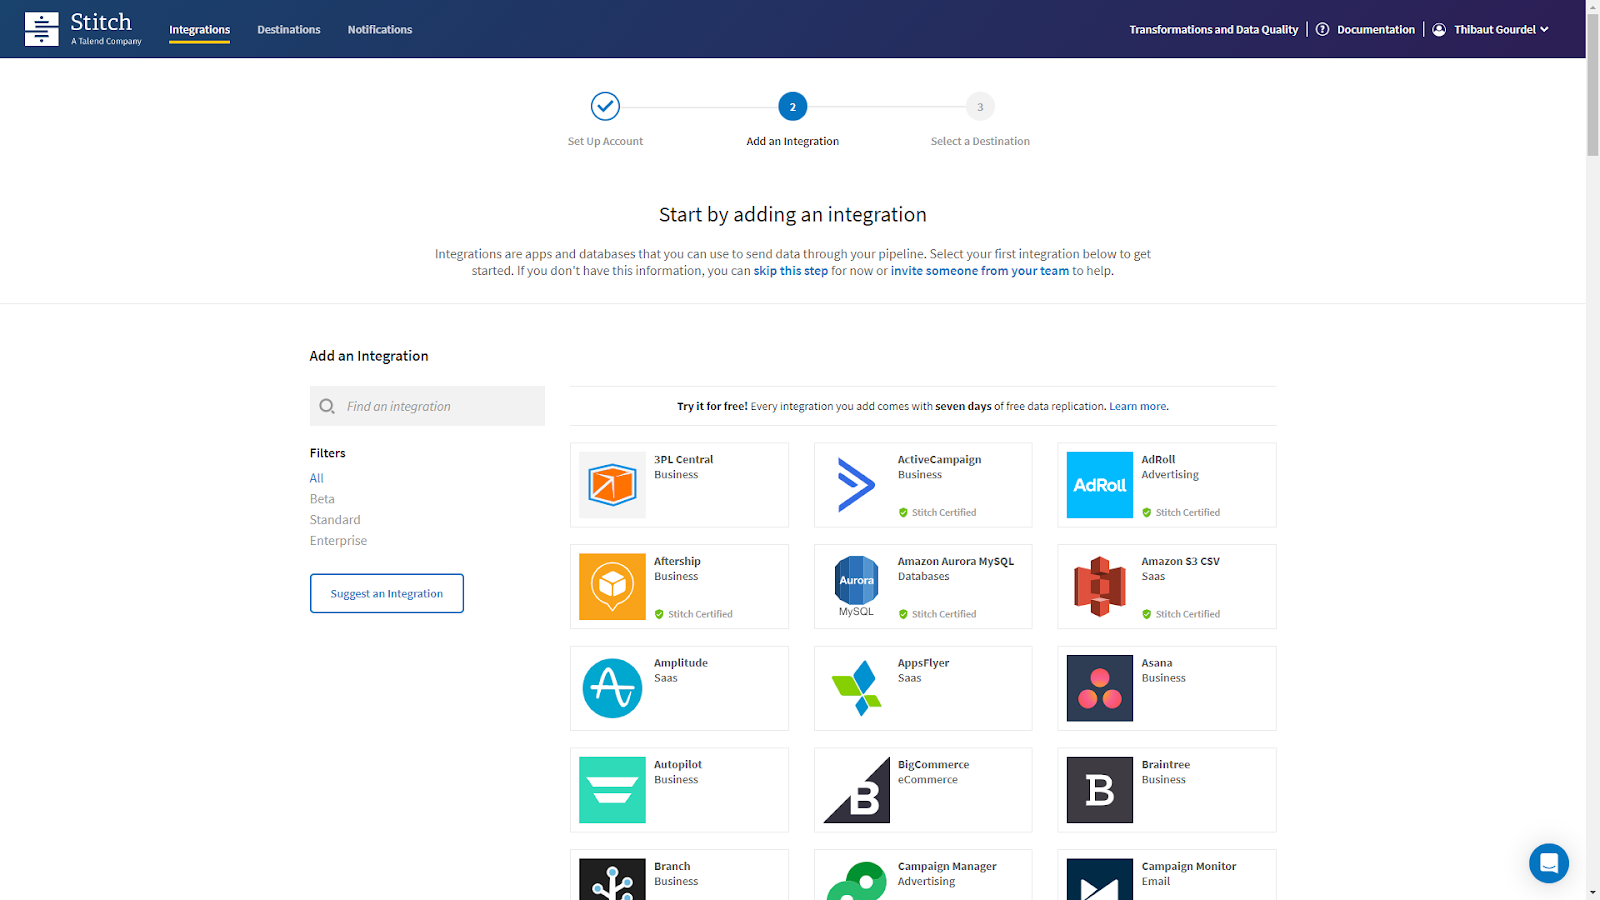
Once signed up, you should land on this page, which helps you set up your first integration. Let's go to the next step.
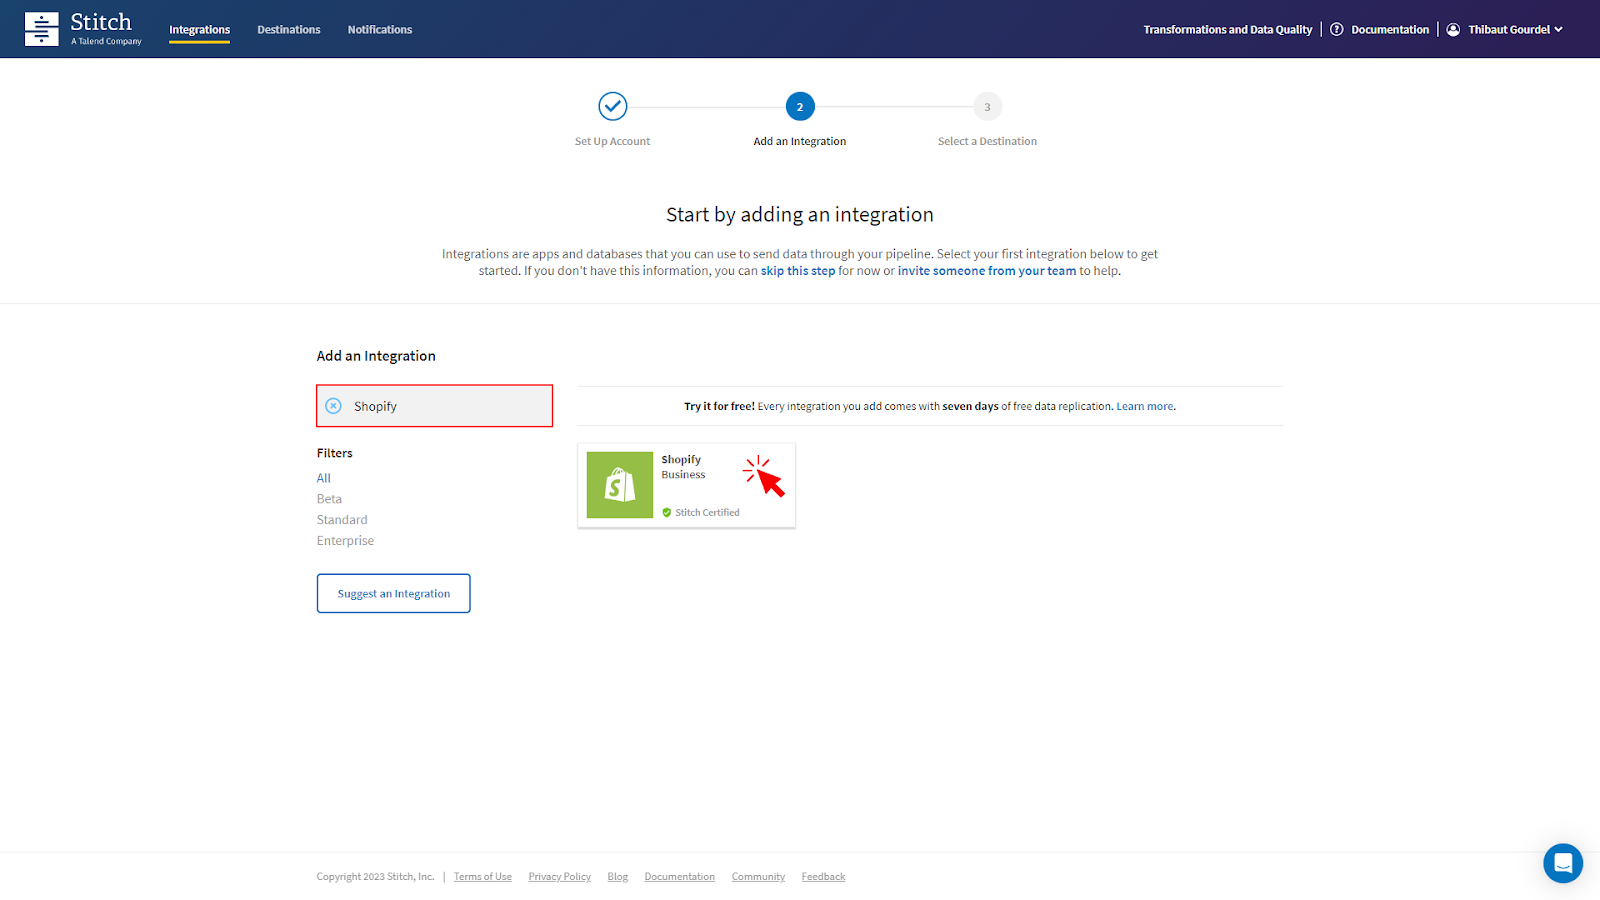
Search for Shopify in the search bar, located on the left side. Then, click on the Shopify integration.
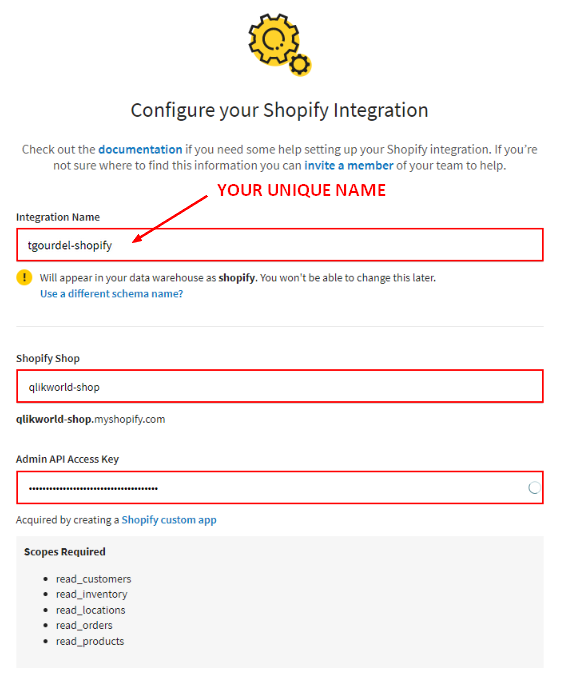
It's now time to configure the Shopify integration. Using the form below, insert:
- the integration name of your choosing, for example in my case "
tgourdel-shopify"
- the shop identifier, please insert "
" - The following Admin API key:
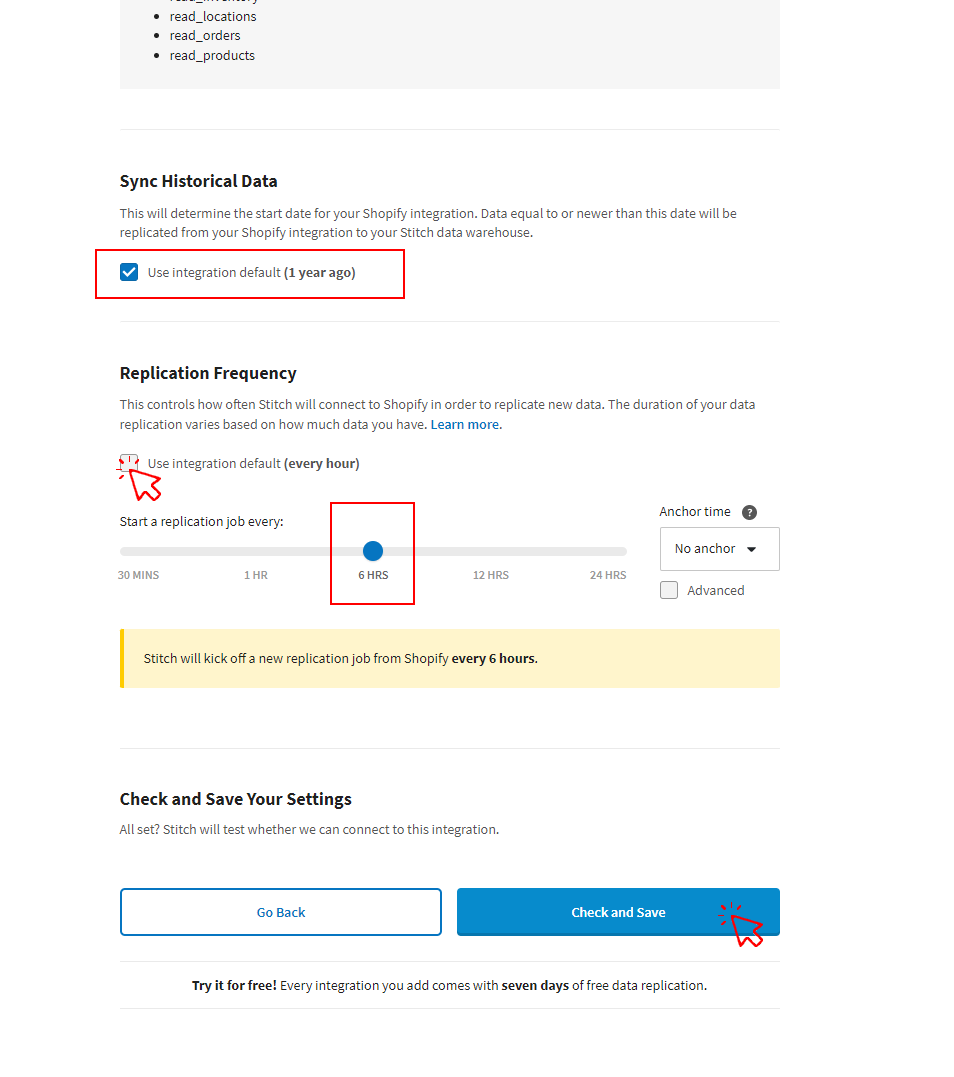
Scrolling down, you can further configure the replication settings.
You can keep the default for the historical data sync.
The following settings dictate how and how often Stitch will replicate data from your integration.
Please unselect the default for the replication frequency and select 6hrs as shown below:
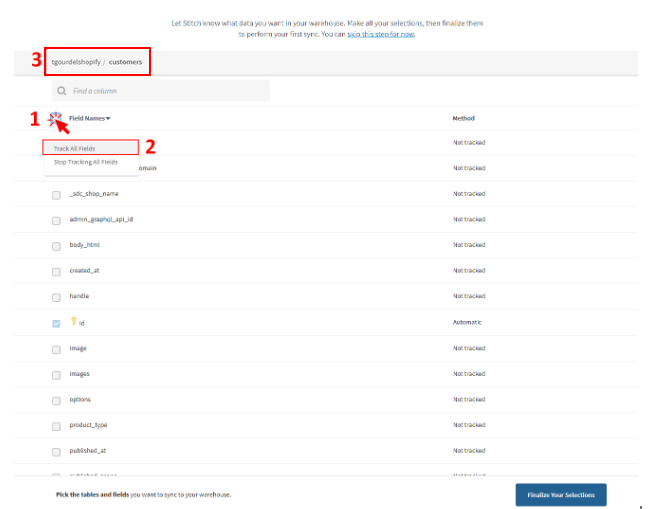
The last step for configuring the source integration consists in selecting the attributes and fields you want to replicate into your destination.
Here, please select customers.

Once you click on an attribute, you actually have the ability to select which fields to track. Using the tick-box on the top left, you can actually select "Track All Fields".
Then, DO NOT finalize your selections just yet.
Go back to the attribute selection by clicking on the name of your integration, in my case "tgourdelshopify" on the top left:
Then, repeat the same process for orders and products. Note that when you sync a table, by default all columns will also be set to sync.
Lastly, click on "Finalize your selections" and confirm by clicking on "Yes, Continue".
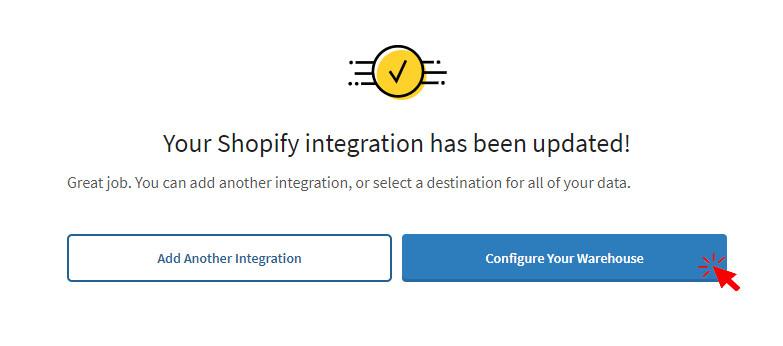
Go to the next step to configure your warehouse!
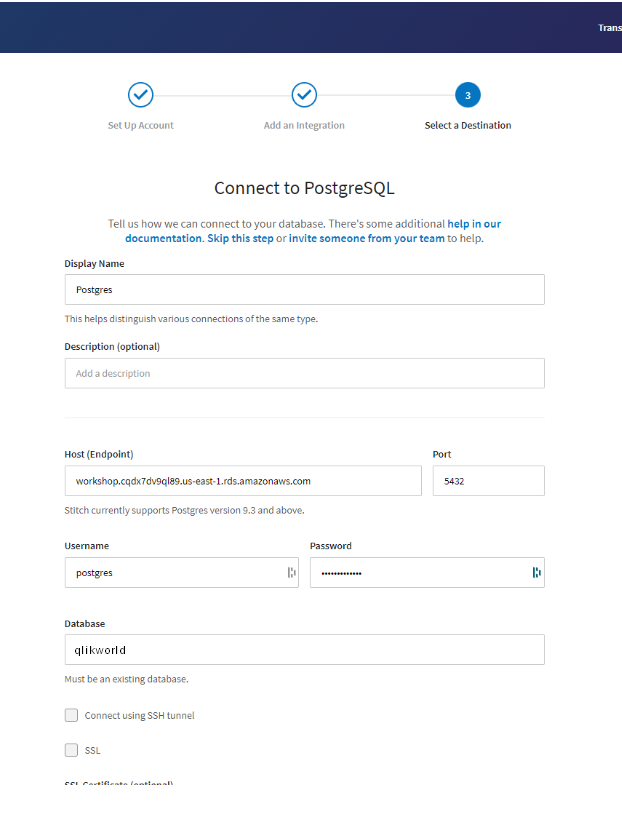
In this step, we will configure your destination. The destination is usually a data warehouse or database such as Snowflake, Amazon Redshift, Google Big Query, Mysql, and Postgres.
In this workshop, we will use Postgres.
Click on the PostgresSQL tile.
Use the following parameters and credentials:
Host: workshop.cqdx7dv9ql89.us-east-1.rds.amazonaws.com
Port: 5432
Username: postgres
Password: QlikWorld2023
Database: qlikworld
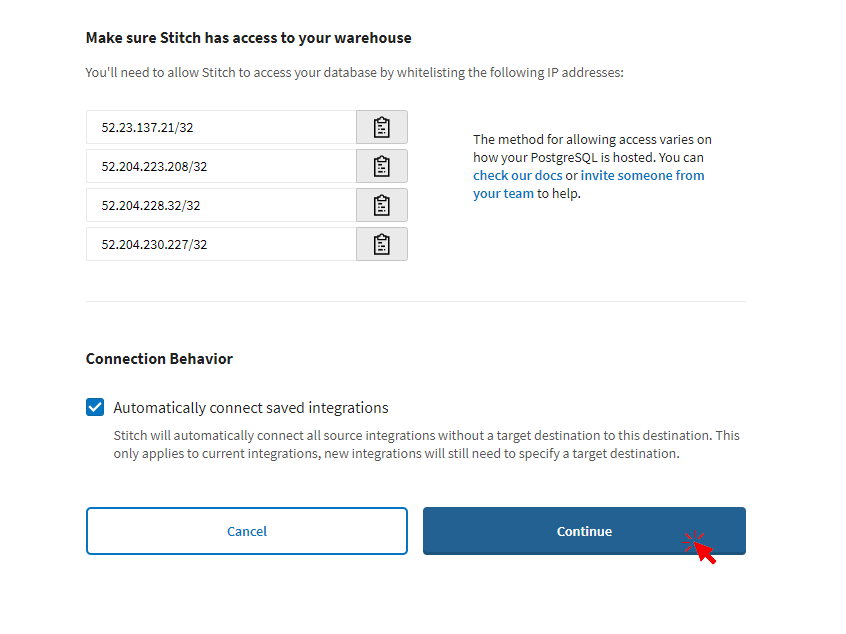
Now, got to next step!
That's it, congratulations!
Now, let's take a step back. The first replication usually takes 5 to 15 minutes but can take up to 30 minutes to complete.

You can continue reading through the guide but keep in mind you won't see any statistics until your first synchronization happens (usually around ~10 minutes).
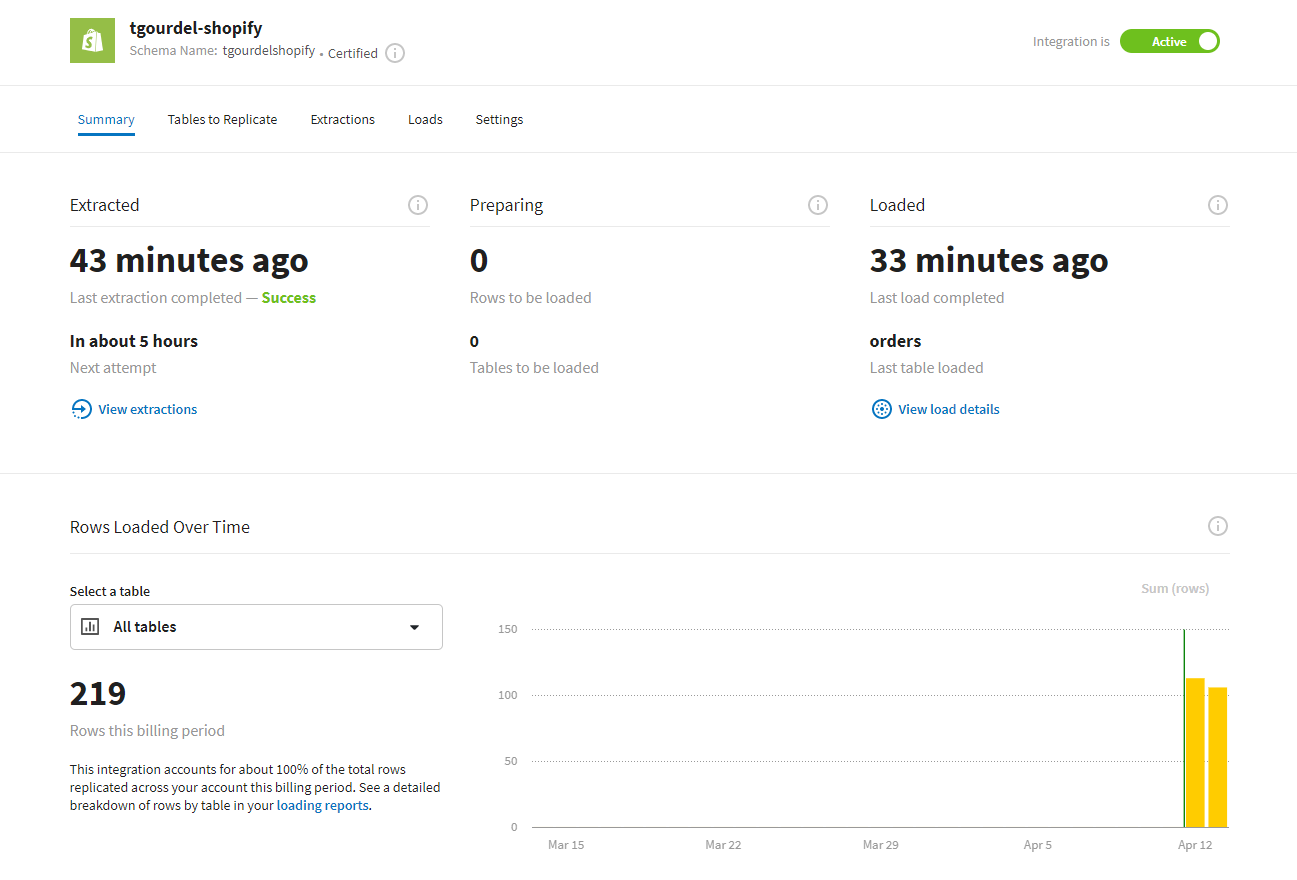
The Stitch replication process consists of three steps: extracting, preparing, and loading.
During the Extract part of the replication process, Stitch will use the replication settings to determine how often to replicate data, what tables and columns to replicate, and whether to replicate data incrementally or fully from the data source.
Once the data has been extracted, it moves into the Preparing phase of the replication process. During this phase, Stitch will perform light transformations and data typing for some integrations to ready the data for the data warehouse.
The last step is Loading. Stitch completes the replication process by writing the replicated data to your data warehouse in batches.
The first stats won't be available until the first synchronization is done. In the meantime, got to the home page (you can click on "Integrations" in the top bar menu):
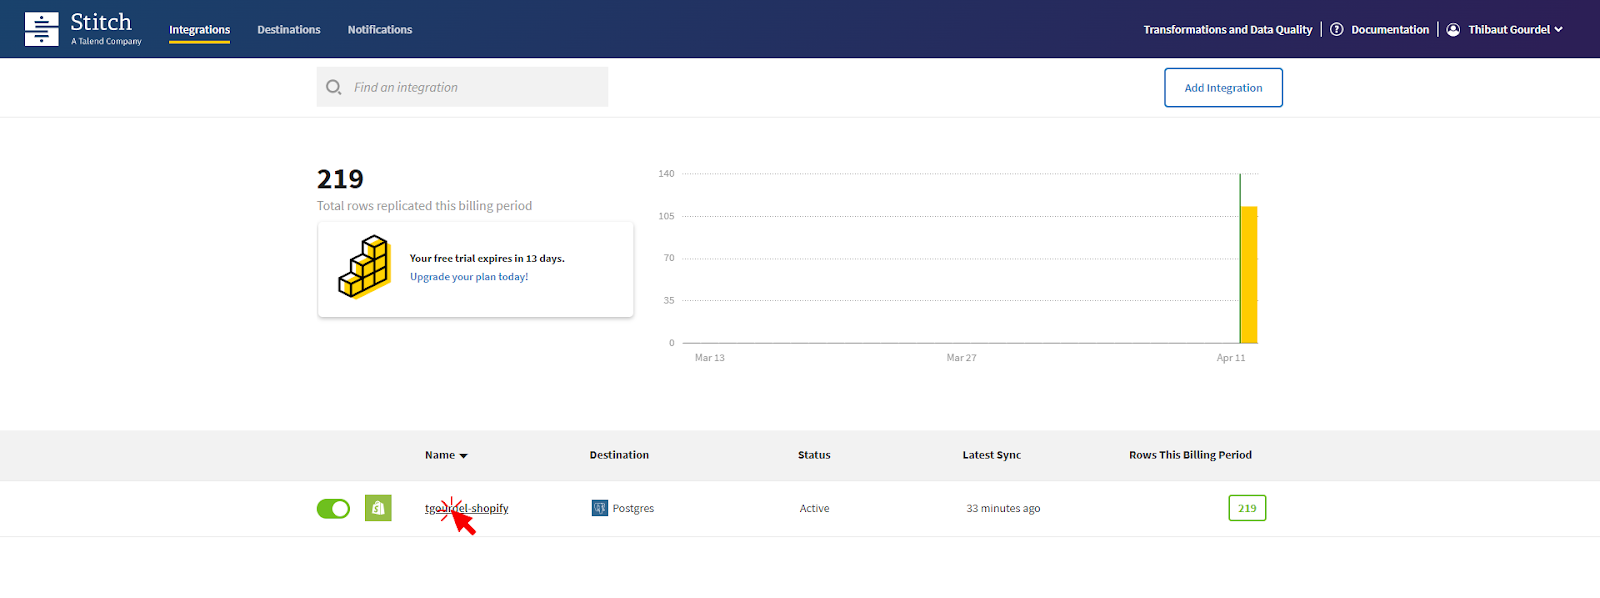
The home page summarizes the integrations and the overall volume of data being replicated.
By clicking on the integration name, you will see the integration details page. This page will display stats only after the initial sync has completed.
After you initially connect an integration, you might see a Pending status in the Last Sync Status field on the Stitch Dashboard page or on the Integration Details page:
A Pending status indicates that Stitch is in the process of scheduling a replication job for the integration. For newly created integrations, this can take up to 30 minutes.
At this stage it is likely you see a Pending status for your integration.
These stats are not real-time and will update every few minutes. Remember to refresh the page if you're eager to watch your data move through Stitch.
That's it for the first part of this workshop. You can go to the next step.
Overview
This second step shows you how to automatically observe and monitor your data warehouse's data quality with Talend.
First, let's get you a temporary login/password:
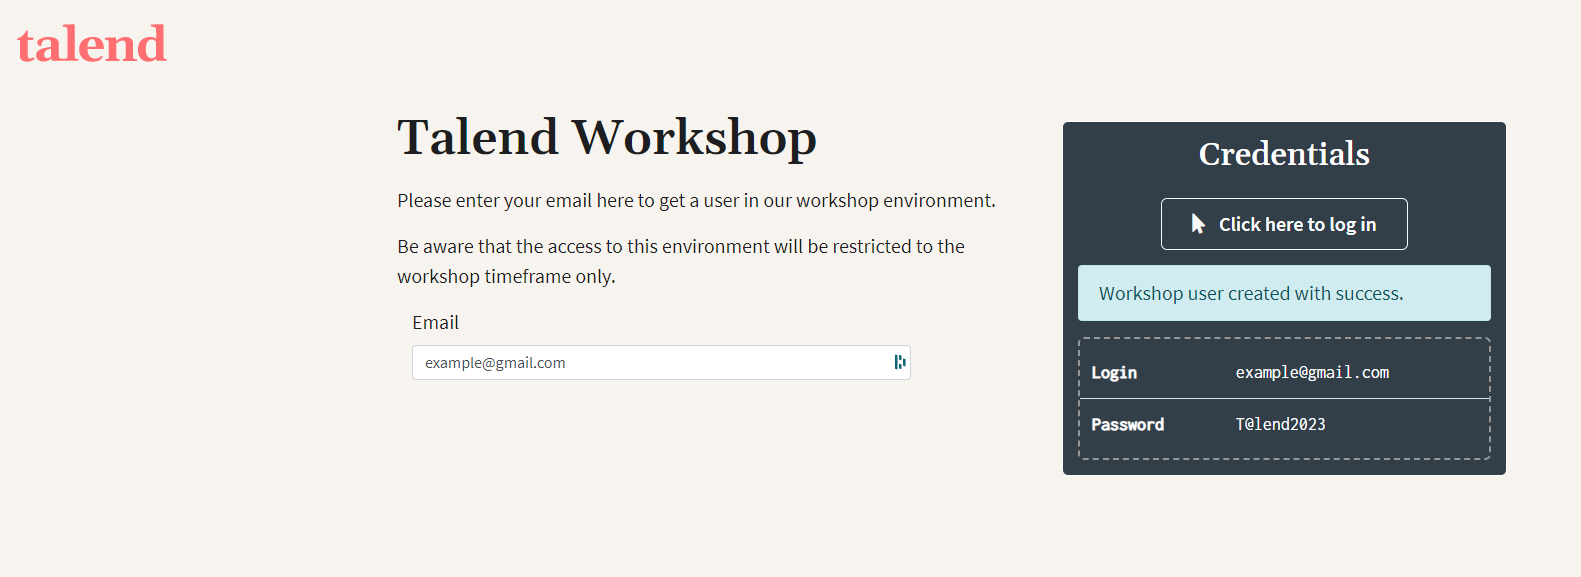
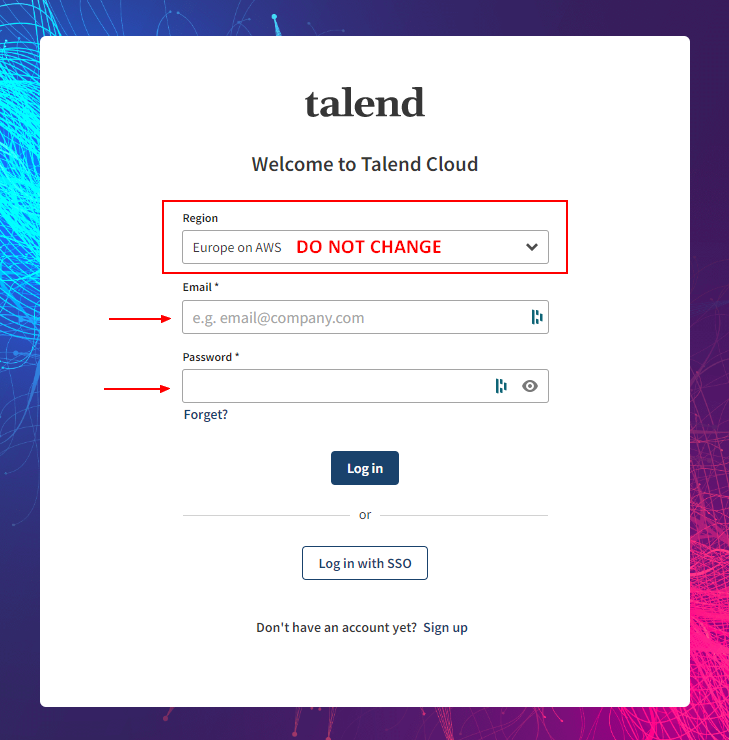
Provide an email and copy the password. Click on "Click here to log in" to access Talend Cloud.
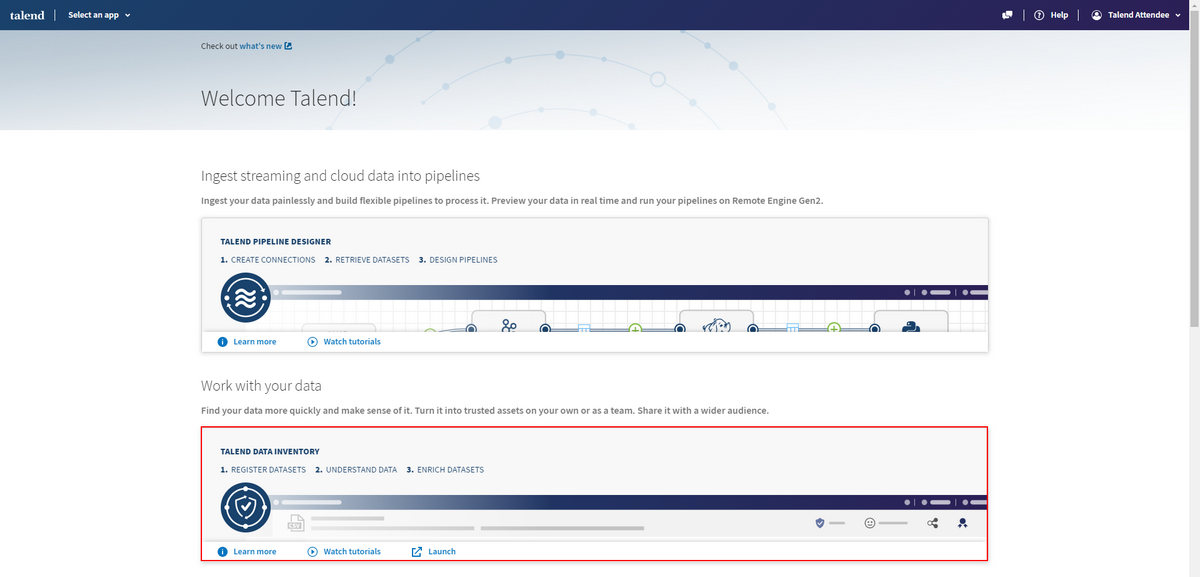
After logging in you should land on this page:
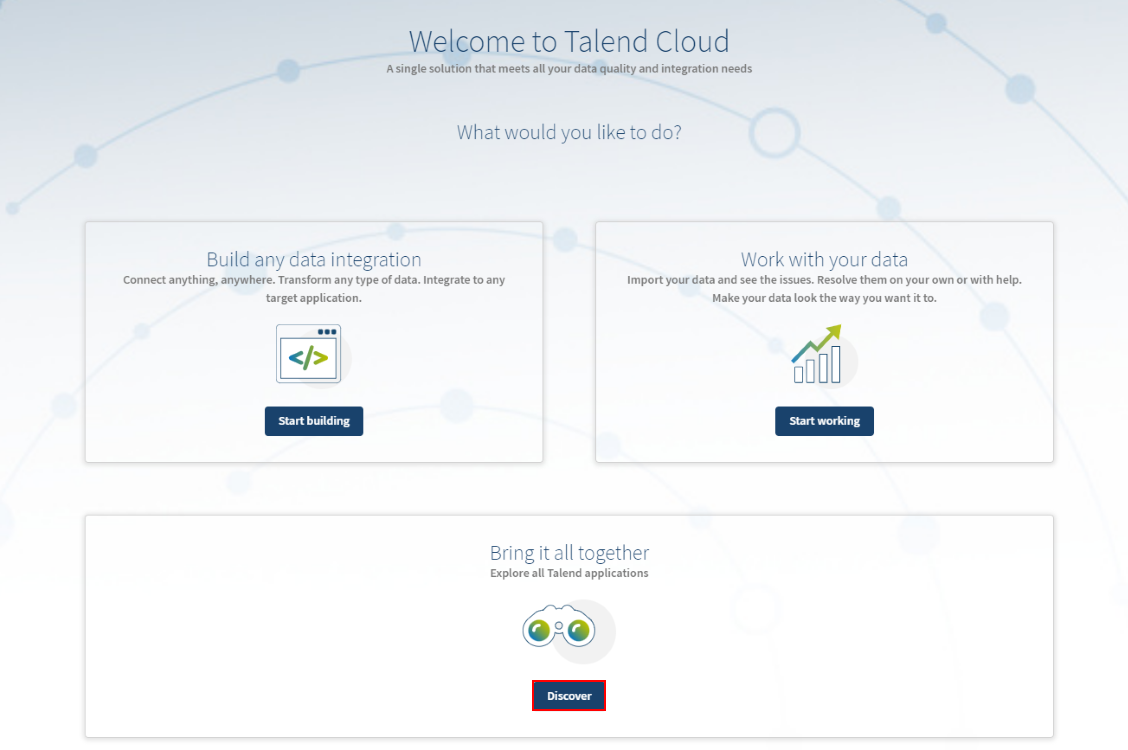
From there, click on "Discover".
Then open Talend Data Inventory among the list of applications, by clicking on "Launch":
Go to the next step.
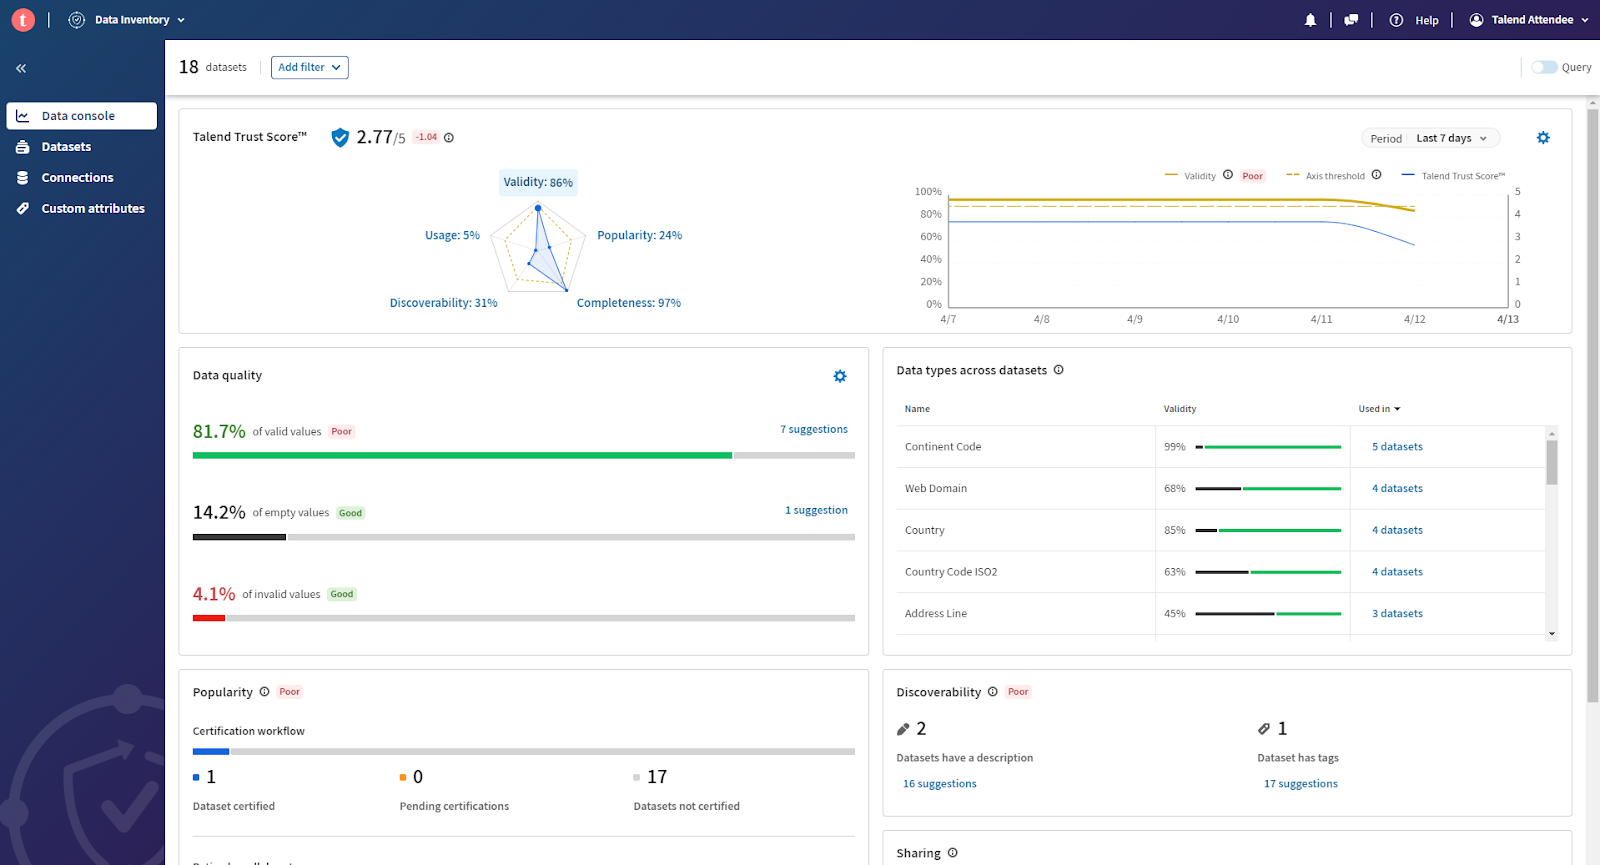
The Data Console tab lets you get a quick overview of the quality of your dataset collection and improve them one by one to reach the desired threshold.
The overall quality of your collection is represented by the Talend Trust Score™. Specific thresholds can be defined to quickly assess if the Talend Trust Score™ axes meet the requirements or if datasets need improvements.
You can now take a look at the different tiles and tabs to discover Talend Data Inventory.
Congratulations, you've successfully set up your first integration from Shopify to a data warehouse with Stitch. You also monitored the data quality of your data warehouse with Talend Data Inventory!
Learn More
- Come to our booth! (Booth 175)
- Visit talend.com for our free trials!